

Diver's Log
A Day at Kaneohe Bay
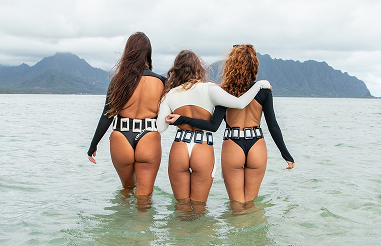
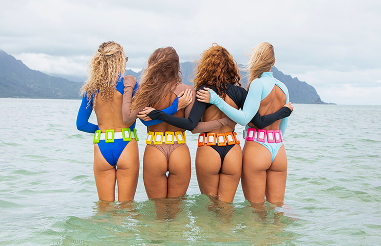
Despite the less-than-ideal conditions during our recent dive in Kaneohe Bay, the experience turned out to be unexpectedly rewarding. The day was marked by overcast skies, intermittent rain, and reduced visibility factors that often deter divers. However, these challenges set the stage for remarkable underwater encounters and highlighted the importance of quality gear, particularly our brightly colored dive weights. Challenging Dive Conditions Upon arrival at Kaneohe Bay, we were greeted by a thick layer of clouds and a steady drizzle. The water’s surface was calm but hinted at the limited visibility below. Such conditions can make navigation and communication underwater more demanding, emphasizing the need for reliable and easily identifiable equipment. Unexpected Wildlife Encounters As we descended, the muted light and hazy water created an otherworldly ambiance. To our astonishment, this seemingly inhospitable environment became a backdrop for extraordinary wildlife sightings. We encountered a Hawaiian monk seal, an endangered species rarely seen by divers. Its graceful movements and curious nature provided a mesmerizing spectacle. Shortly after, a squadron of manta rays, gliding effortlessly through the murky waters, joined us. These gentle giants, typically associated with clearer waters, seemed unbothered by the conditions, offering us a unique and intimate viewing experience. Bright Dive Weights & Underwater Photography Capturing these moments on camera was a priority, but the low visibility posed significant challenges. In this context, our brightly colored dive weights proved invaluable. The vivid hues stood out against the subdued underwater landscape, allowing photographers to maintain visual contact with divers and frame shots effectively. This contrast not only facilitated better composition but also enhanced the overall quality of the footage. The prominence of the dive weights in the images added a striking visual element, underscoring their functional and aesthetic value. This dive reinforced the unpredictable nature of underwater exploration. Even when conditions are less than ideal, the ocean can surprise us with unforgettable encounters. Moreover, it highlighted how thoughtful equipment choices, such as using brightly colored dive weights, can significantly impact safety and the quality of underwater photography. At Bright Buoy Diving, we remain committed to providing gear that meets the practical needs of divers while enhancing their overall experience.
Read the Story
How to Calculate the Perfect Weight for Your Freediving Belt
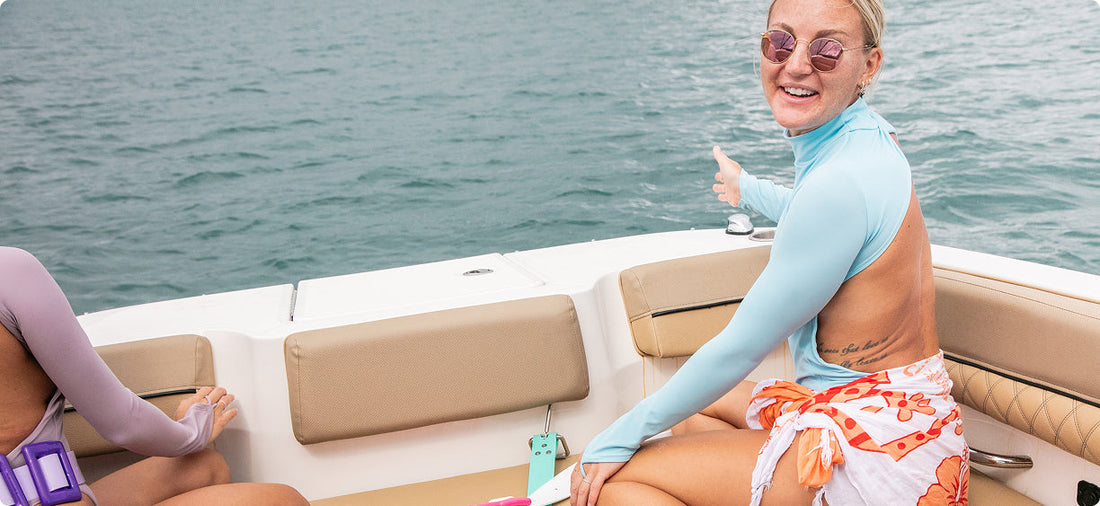
Dial in Your Weighting for the Perfect Dive Freediving is about balance between buoyancy and control, depth and comfort, strength and relaxation. Getting your weight belt just right is key to achieving a smooth descent, effortless neutral buoyancy, and an easy return to the surface. But how much weight do you actually need? At Bright Buoy Diving, we offer 1 lb, 2 lb, and 3 lb coated freediving weights, giving you the flexibility to fine-tune your setup based on your body, gear, and dive style. Here’s how to find your perfect weighting. Step 1: Understand the Factors That Affect Your Buoyancy Your weighting setup depends on a few key factors: Body Composition - Higher body fat percentage = more buoyant. Leaner divers tend to require more weight. Wetsuit Thickness-The thicker your wetsuit, the more buoyant you are. A 3mm wetsuit requires less weight than a 5mm or 7mm. Water Type-Saltwater is more buoyant than freshwater. If you train in both, you may need to adjust accordingly. Depth Goals-Shallow dives require more weight to stay down, while deeper dives allow for a more minimal setup since compression naturally reduces buoyancy at depth. Step 2: General Weighting Guidelines A starting point for weighting based on wetsuit thickness: · No wetsuit (just a swimsuit or dive skin) ~ 1-2% of body weight · 3mm wetsuit ~ 4-6% of body weight · 5mm wetsuit ~ 6-8% of body weight · 7mm wetsuit ~8-10% of body weight Example Calculation: If you weigh 150 lbs and are wearing a 3mm wetsuit, you’ll likely need 6-9 lbs of weight to achieve proper buoyancy. Step 3: Fine-Tuning with Bright Buoy Diving Weights Now that you have a rough idea of your weight range, use our 1 lb, 2 lb, and 3 lb coated weights to build the perfect setup: Start Light & Adjust-it’s always better to start with less weight and add more if needed. Evenly Distribute Weight-Spacing out your weight ensures a balanced, comfortable fit on your belt. Test Neutral Buoyancy at 10m (33ft) -The best way to check if your weighting is correct is to see if you naturally hover at 10m without sinking or floating up. Example Setup: A 150 lb diver in a 3mm wetsuit needing 6 lbs could wear: · Six 1 lb weights spaced evenly · Three 2 lb weights spaced evenly · Two 3 lb weights for a more streamlined fit Step 4: Adjust for Performance & Safety Spearfishing or Shallow Diving? Add a little extra weight to stay down easier. Deep Diving? Go lighter to avoid excess effort returning to the surface. New to Freediving? Always err on the side of caution and start with less weight. Proper buoyancy = safety. Find Your Balance Every diver is different, which is why having adjustable, durable weights is essential for customizing your dive. With Bright Buoy Diving’s 1 lb, 2 lb, and 3 lb coated weights, you can fine-tune your setup for maximum comfort, control, and performance. Ready to dial in your perfect weighting? Shop the collection now!
Read the Story
Blog posts

Diving for a Cause: One Ocean Conservation Cleanup at China Walls
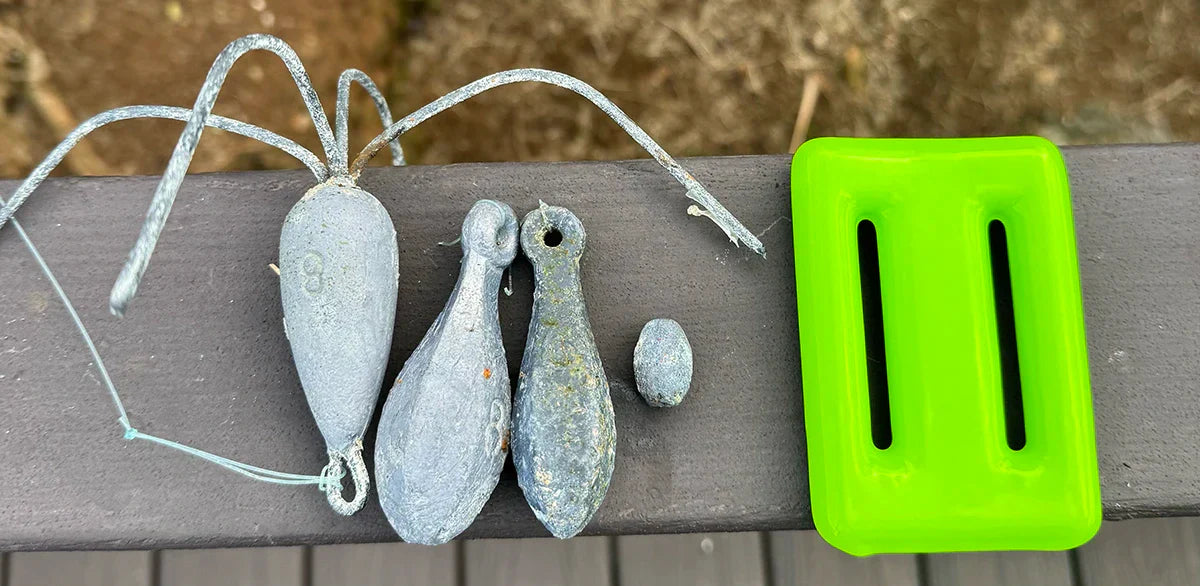
On March 8, 2025, we joined One Ocean Conservation, led by shark expert Ocean Ramsey, for their monthly reef and beach cleanup at Portlock Point - China Walls. These cleanups bring together ocean lovers, conservationists, and divers to remove harmful debris from the ocean while protecting the delicate marine ecosystem. A Dive with Purpose Upon arrival, One Ocean Conservation’s crew greeted volunteers, organizing teams and setting us to work. The conditions were nothing short of magical—whales circled us as we entered the water, their songs echoing through the blue, while green sea turtles glided past, offering a warm welcome to their home. For the next two hours, divers explored the reef and ocean floor, scanning for lost fishing gear, lead weights, and other debris. The haul was eye-opening—old lead fishing weights, tangled fishing lines damaging coral, discarded clothing, and various other trash. Divers carefully cut away fishing lines wrapped around the reef, removing hazards that threaten marine life. Turning Ocean Waste into Dive Gear At the end of the dive, we climbed up the rugged cliffs of China Walls and gathered as a group to sort through the collected debris. Among the recovered waste were numerous lead fishing weights—a major contributor to ocean pollution. This is where Bright Buoy Diving steps in. Our team rescues discarded lead from the ocean, melts it down, and repurposes it into high-quality, coated dive weights. Instead of polluting the reef, these materials now serve freedivers and ocean explorers, creating a sustainable cycle. Expanding Our Impact We had a great haul that day, but the mission doesn’t stop here. To further our commitment to sustainability, we’re launching a drop-off site in May where divers can bring recovered lead weights and other ocean debris to be properly recycled—keeping it out of landfills and giving it a second life in the water. This is the heart of Bright Buoy Diving—full-circle sustainability, community-driven conservation, and a deep love for the ocean. Want to get involved? Stay tuned for more cleanup events and drop-site details coming soon! 🌊♻️ Trash to Treasure: The Journey of Recycled Lead Pictured here are old, corroded lead fishing weights found on the ocean floor—contrasted against a freshly coated Bright Buoy dive weight. These weights, often lost or discarded, leach toxins into the water and damage fragile marine ecosystems. As we scoured the reef, we came across countless lead fishing weights, some of which have probably been sitting on the ocean floor for years. Over time, these weights corrode and pollute marine habitats. Through our recycling initiative, we collect these abandoned weights, melt them down, and give them new life as coated dive weights, designed for performance and sustainability. By retrieving and recycling them, we’re preventing further contamination and ensuring they’re repurposed into safe, sustainable dive gear. Reclaiming the Ocean, One Dive at a Time One of the volunteer divers emerges with a lead fishing weight found tangled in the reef. These small yet harmful pieces of trash accumulate over time, harming marine life. Through community-driven cleanup efforts, we collect and recycle these materials, transforming them into high-quality dive equipment that supports a cleaner, healthier ocean. Bright Buoy’s Role in Ocean Cleanup & Recycling At Bright Buoy Diving, we believe in a full-circle approach to sustainability. Our lead recycling program takes discarded fishing weights and transforms them into vibrant, coated dive weights—reducing waste and protecting marine ecosystems. This initiative wouldn’t be possible without community support, and soon, we’re expanding our impact by launching a drop-off site in May, where divers can bring in retrieved ocean trash like lead weights and fishing gear for recycling instead of sending it to landfills.
Read the Story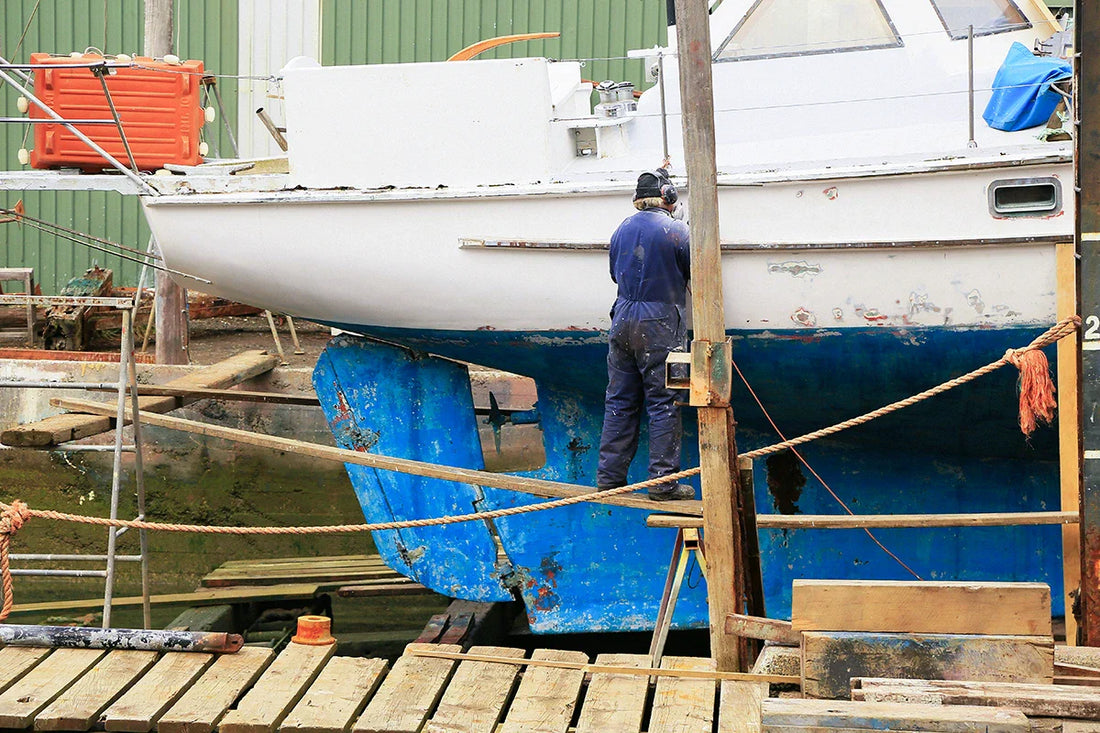
From Salvaged Sailboats to Sustainable Diving: Our Journey to Eco-friendly Dive Weights
At Bright Buoy Diving, we are committed to sustainability and innovation in our dive weight production. By transitioning to recycled lead as our primary raw material, we’re not only reducing environmental impact but also enhancing the quality of our products. Transition to Recycled Lead for Dive Weights In May, we are relocating our operations from the mainland to Oahu, allowing us to source recycled lead locally. This move supports our mission to create eco-friendly dive weights while strengthening our ties to the Hawaiian community. Local Sources of Recycled Lead Our recycled lead comes from various on-island sources, including: Salvaged Sailboat Keels: Partnering with boat salvage yards across the Hawaiian Islands, we repurpose lead keels from decommissioned sailboats. Recycled Car Batteries: Collaborating with local scrapyards, we extract lead from recycled car batteries, ensuring safe handling and processing. Spent Bullets from Gun Ranges: Working with shooting ranges, we reclaim lead from spent bullets, promoting environmental responsibility. Recovered Fishing Weights: Divers assist in retrieving lost fishing weights from the ocean, which we then recycle into new dive weights. Partnership with Boat Salvage Yards Our collaboration with boat salvage yards is a cornerstone of our sustainability efforts. The process involves: 1. Keel Extraction: At salvage yards, we carefully remove lead keels from decommissioned sailboats. 2. Transportation: The extracted keels are transported to our Oahu warehouse for processing. 3. Melting and Casting: At our facility, the lead is melted and cast into specific dive weight sizes, ensuring quality and consistency. Bright Buoy Diving is dedicated to merging sustainability with innovation. By sourcing recycled lead locally and involving the community in our recycling efforts, we’re taking significant steps toward a more sustainable future for diving. We invite you to join us in these initiatives, contributing to cleaner oceans and a healthier planet.
Read the Story
A Day at Kaneohe Bay
Despite the less-than-ideal conditions during our recent dive in Kaneohe Bay, the experience turned out to be unexpectedly rewarding. The day was marked by overcast skies, intermittent rain, and reduced visibility factors that often deter divers. However, these challenges set the stage for remarkable underwater encounters and highlighted the importance of quality gear, particularly our brightly colored dive weights. Challenging Dive Conditions Upon arrival at Kaneohe Bay, we were greeted by a thick layer of clouds and a steady drizzle. The water’s surface was calm but hinted at the limited visibility below. Such conditions can make navigation and communication underwater more demanding, emphasizing the need for reliable and easily identifiable equipment. Unexpected Wildlife Encounters As we descended, the muted light and hazy water created an otherworldly ambiance. To our astonishment, this seemingly inhospitable environment became a backdrop for extraordinary wildlife sightings. We encountered a Hawaiian monk seal, an endangered species rarely seen by divers. Its graceful movements and curious nature provided a mesmerizing spectacle. Shortly after, a squadron of manta rays, gliding effortlessly through the murky waters, joined us. These gentle giants, typically associated with clearer waters, seemed unbothered by the conditions, offering us a unique and intimate viewing experience. Bright Dive Weights & Underwater Photography Capturing these moments on camera was a priority, but the low visibility posed significant challenges. In this context, our brightly colored dive weights proved invaluable. The vivid hues stood out against the subdued underwater landscape, allowing photographers to maintain visual contact with divers and frame shots effectively. This contrast not only facilitated better composition but also enhanced the overall quality of the footage. The prominence of the dive weights in the images added a striking visual element, underscoring their functional and aesthetic value. This dive reinforced the unpredictable nature of underwater exploration. Even when conditions are less than ideal, the ocean can surprise us with unforgettable encounters. Moreover, it highlighted how thoughtful equipment choices, such as using brightly colored dive weights, can significantly impact safety and the quality of underwater photography. At Bright Buoy Diving, we remain committed to providing gear that meets the practical needs of divers while enhancing their overall experience.
Read the Story